Troubleshooting Common Candle Making Mistakes: Expert Advice
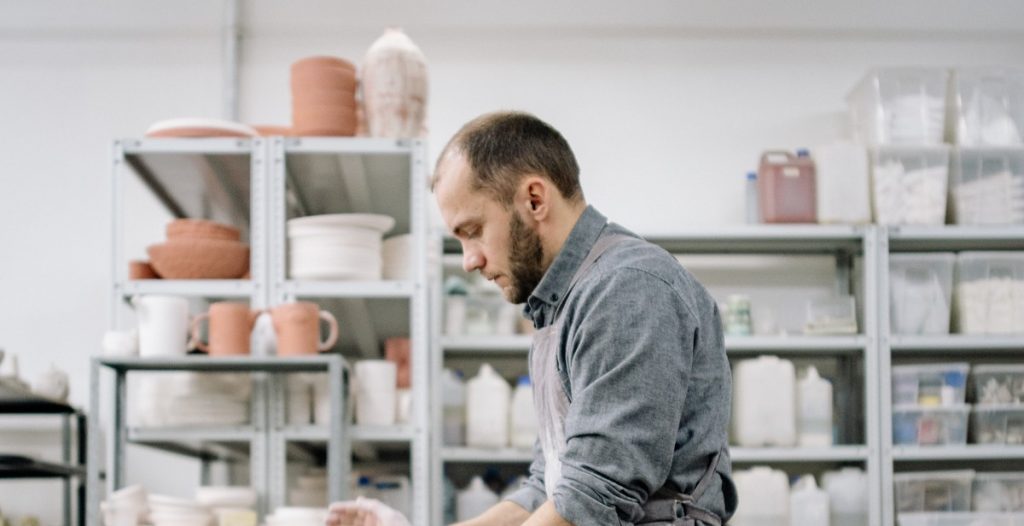
Candle making is a fun and rewarding hobby, but it can also be frustrating when things don’t go as planned. From uneven wax distribution to wicks that won’t stay lit, there are many common candle making mistakes that can be easily avoided or fixed with the right knowledge.
The Importance of Troubleshooting
As with any DIY project, it’s important to understand that mistakes can happen. However, troubleshooting these mistakes can help you learn and improve your candle making skills. By understanding the common issues that can arise during the candle making process, you can take steps to prevent them from happening in the first place.
Expert Advice for Troubleshooting
Whether you’re a beginner or an experienced candle maker, there are always new tips and tricks to learn. In this article, we’ll share expert advice for troubleshooting common candle making mistakes. From choosing the right wax to troubleshooting wick issues, we’ll cover all the bases to help you create beautiful and successful candles every time.
Topics Covered in This Article:
- Choosing the Right Wax
- Measuring Ingredients Accurately
- Troubleshooting Uneven Wax Distribution
- Fixing Wicks That Won’t Stay Lit
- Preventing Sinking and Cracking

Choosing the Right Wax
One of the most important decisions you’ll make when making candles is choosing the right wax. There are several types of wax to choose from, including soy wax, paraffin wax, beeswax, and palm wax. Each type of wax has its own unique properties and benefits.
Soy Wax vs. Paraffin Wax
Soy wax is a popular choice for candle making because it is a natural, renewable resource. Soy wax is made from soybeans, which are grown in the United States. Soy wax candles burn longer and cleaner than paraffin wax candles. They also have a lower melting point, which means they can be burned for longer periods of time without overheating.
Paraffin wax, on the other hand, is a byproduct of the petroleum industry. Paraffin wax candles are cheaper to produce than soy wax candles, but they also produce more soot when burned. Paraffin wax candles can also cause allergic reactions in some people.
Beeswax vs. Palm Wax
Beeswax is a natural wax that is produced by honeybees. Beeswax candles burn longer and cleaner than paraffin wax candles. They also have a natural, sweet scent that many people find appealing. However, beeswax is more expensive than other types of wax, which can make it cost-prohibitive for some candle makers.
Palm wax is a natural wax that is made from palm oil. Palm wax candles have a unique, crystalline appearance and a natural scent. Palm wax is also a renewable resource, which makes it an eco-friendly choice for candle making. However, palm oil production has been linked to deforestation and habitat destruction, which has led some candle makers to avoid using palm wax.
| Wax Type | Pros | Cons |
|---|---|---|
| Soy Wax | Natural, renewable resource; burns longer and cleaner than paraffin wax; lower melting point | More expensive than paraffin wax |
| Paraffin Wax | Cheaper to produce than soy wax | Produces more soot when burned; can cause allergic reactions |
| Beeswax | Natural, sweet scent; burns longer and cleaner than paraffin wax | More expensive than other types of wax |
| Palm Wax | Unique, crystalline appearance; natural scent; renewable resource | Production linked to deforestation and habitat destruction |

Wick Issues
Choosing the right wick size is crucial in candle making. A wick that is too small will not burn properly, while a wick that is too large will produce too much heat and may cause the wax to melt too quickly. To determine the right wick size, consider the diameter of the candle and the type of wax being used.
Wick Placement Issues
Proper wick placement is also important for a successful candle. A wick that is too close to the edge of the container may cause the wax to tunnel, while a wick that is too centered may cause the wax to melt unevenly. To ensure proper wick placement, consider the diameter of the container and the size of the wick.
It is also important to properly secure the wick in place before pouring the wax. A wick that is not secured may move and cause the candle to burn unevenly.
| Common Wick Issues | Solutions |
|---|---|
| Mushrooming | Trim the wick to ¼ inch before each use |
| Soot | Use a wick that is properly sized for the candle and keep the wick trimmed |
| Excessive Smoke | Use a wick that is properly sized for the candle and keep the wick trimmed |
By understanding and addressing common wick issues, you can ensure that your candles burn properly and are enjoyable for your customers.

Fragrance Problems
One of the most common mistakes that candle makers make is using too much fragrance. While it may seem like a good idea to add more fragrance to make the candle smell stronger, it can actually have the opposite effect. Overloading the candle with fragrance oil can cause the wax to become too soft, resulting in a weaker scent throw and a shorter burn time. It can also cause the candle to smoke and emit black soot, which can be harmful to your health.
Another problem that candle makers encounter is using the wrong fragrance. It’s important to choose fragrances that are specifically designed for candle making. Using fragrances that are meant for other applications, such as soaps or lotions, can result in a weaker scent throw or an unpleasant scent when burned. It’s also important to choose fragrances that are compatible with the wax you are using. Some fragrances may work well with soy wax, but not with paraffin wax, for example.
| Problem | Cause | Solution |
|---|---|---|
| Weak scent throw | Using too little fragrance | Increase fragrance load |
| Short burn time | Using too much fragrance | Reduce fragrance load |
| Black soot | Using too much fragrance | Reduce fragrance load |
| Unpleasant scent | Using the wrong fragrance | Choose fragrances specifically designed for candle making |
To avoid fragrance problems, it’s important to follow the recommended fragrance load for your wax and to choose fragrances that are specifically designed for candle making. It’s also a good idea to perform a small test burn before making a large batch of candles to ensure that the fragrance is producing the desired scent throw and burn time.

Coloring Issues
One of the most common mistakes when it comes to candle making is using too much dye. While it may be tempting to add extra dye to achieve a more vibrant color, doing so can result in undesirable effects, such as uneven coloring, bleeding, and a weaker scent throw. It is important to follow the manufacturer’s recommended usage rate for each type of dye and to measure accurately.
Using the Wrong Dye
Another coloring mistake is using the wrong type of dye for your candle wax. Not all dyes are suitable for all types of wax, and using the wrong dye can result in issues such as poor color saturation, uneven coloring, or even a complete lack of color.
When selecting a dye, it is important to consider the type of wax you are using, as well as the desired color intensity and shade. Some dyes are specifically formulated for soy wax, while others work best with paraffin wax or a blend of both. It is also important to choose dyes that are labeled as candle-safe and non-toxic.
| Type of Dye | Recommended Usage Rate |
|---|---|
| Liquid Dye | 1-2 drops per pound of wax |
| Dye Blocks/Chips | 1 block/chip per pound of wax |
| Powder Dye | 1/16 – 1/8 tsp per pound of wax |
Properly coloring your candles can enhance their aesthetic appeal and overall quality. Avoiding the common mistakes of using too much dye or the wrong dye can help you achieve the desired color and scent throw for your candles.

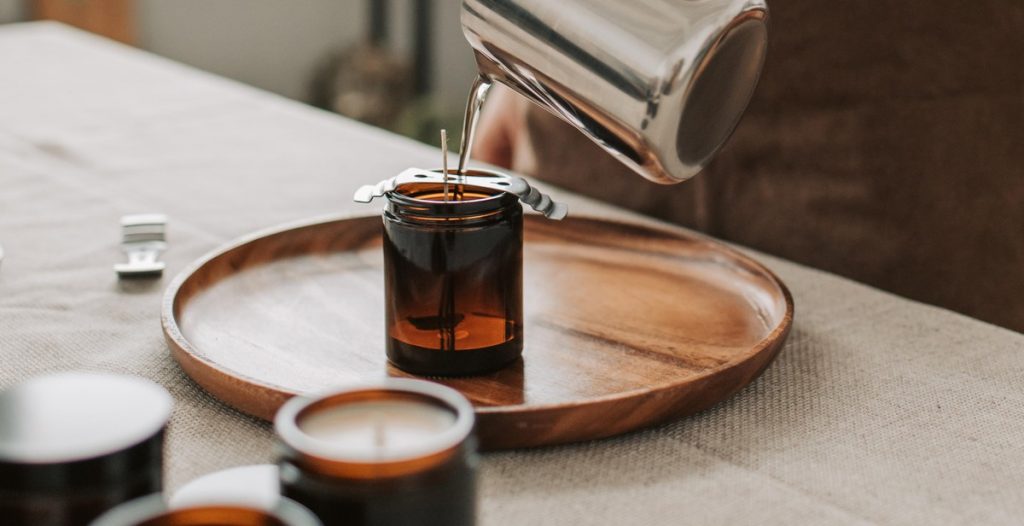
Pouring Problems
Pouring is a crucial step in candle making, and it can make or break the quality of your final product. Here are some common pouring problems and how to troubleshoot them:
Pouring Temperature Issues
The temperature of your wax when pouring is critical. If the wax is too hot, it can cause the fragrance to evaporate, create air bubbles or sinkholes, and cause the candle to crack. If the wax is too cold, it can cause the candle to have a rough texture, sinkholes, or frosting.
To avoid pouring temperature issues, make sure to check the recommended pouring temperature for your specific wax and fragrance. Use a thermometer to check the temperature of your wax before pouring, and adjust accordingly.
Pouring Too Quickly or Too Slowly
Pouring too quickly can cause air bubbles or sinkholes, while pouring too slowly can cause the wax to solidify before filling the container, leading to uneven surfaces or unsightly lines.
To pour at the right speed, make sure to pour steadily and evenly, without stopping or rushing. Use a pouring pitcher with a spout to control the flow of wax, and pour from a height that allows the wax to flow smoothly into the container.
| Problem | Cause | Troubleshooting |
|---|---|---|
| Pouring Temperature Issues | Wax too hot or too cold | Check recommended pouring temperature, use a thermometer to check wax temperature, adjust temperature accordingly |
| Pouring Too Quickly or Too Slowly | Pouring too fast or too slow | Pour steadily and evenly, use a pouring pitcher with a spout, pour from a height that allows the wax to flow smoothly into the container |

Cooling and Curing
One of the most common mistakes made in candle making is not allowing the candle to cool and cure properly. This can lead to a variety of issues, such as uneven burning, cracking, and poor scent throw.
Cooling
After pouring the wax into the container, it is important to let it cool slowly and evenly. Rapid cooling can cause the wax to contract, which can lead to cracking or separation from the container. To prevent this, place the candles in a cool, dry place and avoid exposing them to drafts or extreme temperatures.
Curing
Curing is the process of allowing the candle to sit for a period of time before burning. This allows the wax to fully harden and the scent to properly develop. It is recommended to cure candles for at least 24 hours, but some fragrances may require longer. Keep the candles covered during this time to prevent dust or debris from settling on the surface.
Proper cooling and curing can make a significant difference in the quality of your candles. Take the time to allow your candles to cool and cure properly to ensure optimal burning and scent throw.

Conclusion
Candle making is a fun and rewarding hobby, but it can also be frustrating when things don’t go as planned. However, with the right knowledge and troubleshooting skills, you can avoid common mistakes and create beautiful candles every time.
One of the most important things to keep in mind when troubleshooting candle making mistakes is to pay attention to the details. Whether it’s measuring your ingredients accurately, monitoring your temperatures closely, or taking note of the humidity in your workspace, small details can make a big difference in the outcome of your candles.
Another key aspect of troubleshooting is to be patient and persistent. Don’t give up on a batch of candles too quickly – sometimes a little tweaking or experimentation can lead to a successful result. And if you do encounter a problem that you can’t solve on your own, don’t hesitate to reach out to other candle makers or experts for advice.
Ultimately, the key to successful candle making is to enjoy the process and have fun. With a little practice and perseverance, you can create beautiful, fragrant candles that will bring joy and relaxation to yourself and others.
| Common mistakes | Expert advice |
|---|---|
| Incorrect wax temperature | Use a thermometer to monitor wax temperature and adjust heat source as needed |
| Inaccurate measurements | Use a kitchen scale and measuring cups/spoons for precise measurements |
| Poor wick placement | Center wick and use a wick holder or pencil to keep it in place while pouring wax |
| Fragrance oil not blending well | Stir fragrance oil thoroughly and use a suitable mixing tool |
By following these expert tips and troubleshooting common mistakes, you can create beautiful and high-quality candles that will delight your senses and those of your loved ones.