
Introduction
Candles have been around for centuries and have been used for various purposes, from lighting homes to creating a relaxing ambiance. However, with the advancement in technology and creativity, candles have evolved beyond just being a source of light. One of the latest trends in candle making is the use of metallic finishes. Metallic finish candles have become increasingly popular due to their unique and elegant look.
Why choose metallic finish candles?
Metallic finish candles are not only visually appealing but also offer a range of benefits. Firstly, they provide a sophisticated and modern touch to any space. They are perfect for special occasions such as weddings, birthdays, or holiday seasons. Secondly, metallic finish candles are versatile and can be used in different settings, from home decor to spa treatments. Lastly, metallic finish candles are made using high-quality materials, ensuring that they burn cleaner and last longer than regular candles.
If you are looking to add some glamour to your home or event, metallic finish candles are the perfect choice. In this article, we will guide you through the process of making your own metallic finish candles, including the materials you need and the steps to follow.

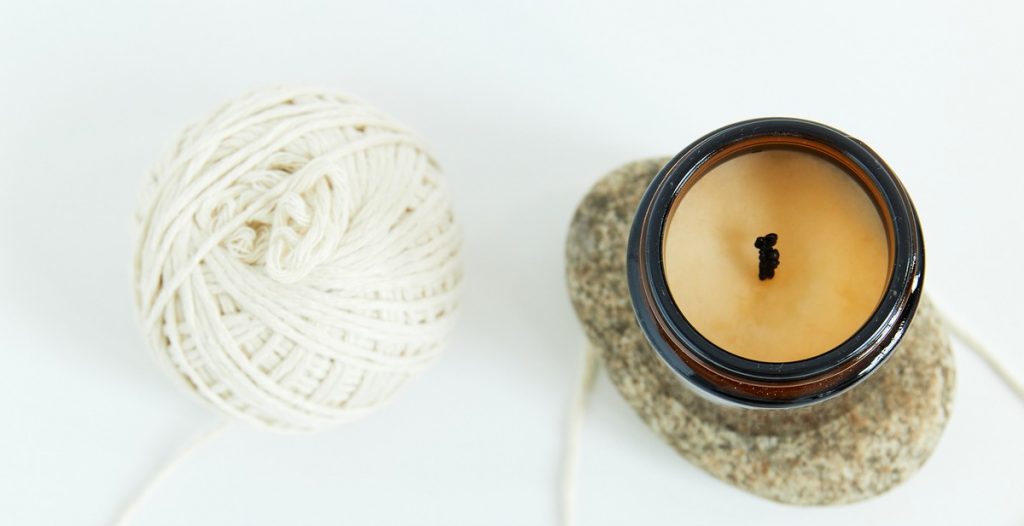
Materials Needed for Making Candles with a Metallic Finish
Creating candles with a metallic finish can add a touch of glamour and elegance to any home decor. To make these candles, you will need the following materials:
1. Wax
Choosing the right wax is important when making candles with a metallic finish. Soy wax, beeswax, and paraffin wax are all good options. Make sure to select a wax that is specifically designed for candle making.
2. Wicks
Wicks are essential for any candle making project. Choose wicks that are appropriate for the size and shape of your candle molds.
3. Metallic Candle Dye
To achieve the metallic finish, you will need metallic candle dye. This type of dye is available in a range of colors and can be mixed with other candle dyes to create unique shades.
4. Fragrance Oil
Fragrance oils are optional, but they can add a lovely scent to your candles. Choose a fragrance oil that is suitable for use in candles and is compatible with your chosen wax.
5. Double Boiler
A double boiler is necessary for melting the wax. This equipment will help you to melt the wax evenly and prevent it from burning.
6. Thermometer
Using a thermometer is important when making candles. It will help you to monitor the temperature of the wax and ensure that it is at the correct temperature for pouring.
7. Stirring Utensil
A stirring utensil, such as a wooden spoon or spatula, is necessary for stirring the wax and dye mixture.
8. Candle Molds
Candle molds are available in a variety of shapes and sizes. Choose molds that are appropriate for the size and shape of your candles.
With these materials, you can create beautiful candles with a metallic finish that will add a touch of luxury to any room.

Preparing the Wax
Before making candles with a metallic finish, it is important to properly prepare the wax. This involves melting the wax, adding fragrance oil, and adding metallic dye.
Melting the Wax
The first step in preparing the wax is to melt it. This can be done using a double boiler or a wax melting pot. If using a double boiler, fill the bottom pot with water and place the wax in the top pot. Heat the water to a simmer and stir the wax occasionally until it is completely melted. If using a wax melting pot, simply pour the wax into the pot and heat it according to the manufacturer’s instructions.
Adding Fragrance Oil
Once the wax is melted, it’s time to add fragrance oil. The amount of fragrance oil needed will depend on the type of wax being used and the desired strength of the scent. Typically, a good rule of thumb is to use 1 ounce of fragrance oil for every pound of wax. Stir the fragrance oil into the melted wax until it is well combined.
Adding Metallic Dye
After the fragrance oil has been added, it’s time to add the metallic dye. This type of dye is specifically designed to give candles a metallic finish. The amount of dye needed will depend on the desired intensity of the metallic finish. As a general guideline, start with a small amount of dye and gradually add more until the desired shade is achieved. Stir the dye into the melted wax until it is well combined.
It is important to note that metallic dyes can be tricky to work with and may require some experimentation to get the desired result. Be sure to follow the manufacturer’s instructions carefully and test the dye on a small batch of wax before making a larger batch.
By properly preparing the wax, adding fragrance oil, and adding metallic dye, you can create beautiful candles with a metallic finish that will add a touch of elegance to any room.

Pouring the Wax
After preparing the molds and inserting the wick, the next step in making candles with a metallic finish is pouring the wax. Here are the steps to follow:
Step 1: Melt the Wax
The first step is to melt the wax. You can use a double boiler or a wax melting pot to melt the wax. Heat the wax until it reaches a temperature of around 185-190°F.
Step 2: Add the Metallic Powder
Once the wax has melted, it’s time to add the metallic powder. The amount of powder you need will depend on the desired finish and the amount of wax you’re using. In general, you should use around 1-2 tablespoons of metallic powder per pound of wax.
Stir the powder into the melted wax until it’s fully incorporated. Make sure there are no clumps or lumps in the mixture.
Step 3: Pour the Wax
Next, it’s time to pour the wax into the molds. Carefully pour the wax into the molds, making sure to leave a little bit of space at the top. This will allow for any shrinkage that may occur as the wax cools.
If you’re using multiple molds, pour the wax into each mold one at a time. This will help ensure that each candle has the same amount of wax and metallic powder.
Step 4: Let the Wax Cool
Once you’ve poured the wax into the molds, you’ll need to let it cool. The amount of time it takes for the wax to cool will depend on a few factors, such as the size of the molds and the temperature of the room.
In general, you should let the wax cool for at least a few hours. You can speed up the cooling process by placing the molds in the refrigerator or freezer.
Step 5: Remove the Candles
Once the wax has fully cooled and hardened, it’s time to remove the candles from the molds. Carefully pull the candles out of the molds, taking care not to damage the metallic finish.
If you’re having trouble removing the candles, try putting the molds in the freezer for a few minutes. This should help loosen the wax and make it easier to remove the candles.
Now that you’ve removed the candles from the molds, you’re ready to trim the wicks and enjoy your beautiful metallic candles!

Creating the Metallic Finish
There are several ways to achieve a metallic finish on candles, including using a metallic finish spray, metallic mica powder, and metallic wax paint. Each method has its own unique benefits and drawbacks, depending on the desired outcome and the materials available.
Using a Metallic Finish Spray
A metallic finish spray is a quick and easy way to add a shiny metallic finish to candles. Simply spray the desired color onto the surface of the candle, following the manufacturer’s instructions. It is important to use a well-ventilated area and to wear protective gear, such as a mask and gloves, when using the spray.
The advantages of using a metallic finish spray include its ease of use and the ability to achieve a consistent finish. However, it may not be as durable as other methods, and the finish may be prone to chipping or flaking over time.
Using Metallic Mica Powder
Metallic mica powder is a versatile option for creating a metallic finish on candles. It can be mixed with wax or applied directly to the surface of the candle using a brush or sponge. The powder can be layered to achieve a more intense metallic finish or mixed with other colors to create a custom shade.
The advantages of using metallic mica powder include its versatility and the ability to achieve a more durable finish compared to a metallic spray. However, it may require more time and effort to apply, and the finish may not be as consistent as a spray.
Using Metallic Wax Paint
Metallic wax paint is a blend of wax and metallic pigment that can be applied directly to the surface of the candle using a brush or sponge. It can be layered to achieve a more intense metallic finish or mixed with other colors to create a custom shade.
The advantages of using metallic wax paint include its durability and the ability to achieve a more consistent finish compared to metallic mica powder. However, it may require more time and effort to apply, and the finish may not be as shiny as a metallic spray.
- Overall, the choice of method will depend on the desired outcome, the materials available, and the level of experience of the crafter.
- Regardless of the method chosen, always follow the manufacturer’s instructions and take proper safety precautions when working with any materials.
- With a little practice and experimentation, anyone can create beautiful candles with a metallic finish that will add a touch of elegance to any space.

Conclusion
In conclusion, making candles with a metallic finish is a fun and creative way to add some glamour and shine to your home decor. With the right materials and techniques, you can easily create beautiful candles with a metallic finish that will impress your friends and family.
First, choose the type of wax you want to use and select a metallic pigment or mica powder to add to it. Then, melt the wax and mix in the pigment or powder before pouring it into your chosen mold. Allow the wax to cool and set before removing it from the mold and adding any finishing touches.
Remember to always take safety precautions when working with hot wax and never leave a lit candle unattended. With practice, you can perfect your candle making skills and create unique and beautiful metallic candles that will add a touch of luxury to any room in your home.
So, what are you waiting for? Start experimenting with different colors and techniques to create your own stunning metallic candles today!
- Choose the right type of wax and pigment
- Take safety precautions when working with hot wax
- Experiment with different colors and techniques