
Introduction
Candles have been used for centuries for various purposes, from providing light to creating a relaxing atmosphere. Among the many types of candles available, floating wick candles are a unique and fascinating option.
What are floating wick candles?
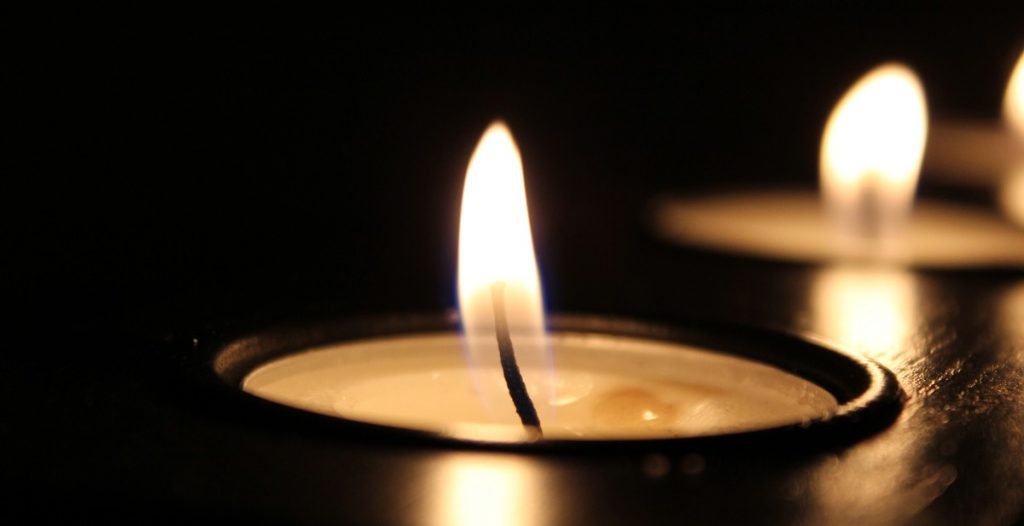
Floating wick candles, as the name suggests, are candles that float on water. They are created using a wick that is specially designed to float on the surface of the water, and the candle’s wax is poured around it. When lit, the flame appears to be dancing on the water, creating a beautiful and calming effect.
Floating wick candles come in different shapes and sizes, and they can be scented or unscented. They are often used as centerpieces for weddings, dinner parties, or other special events, but they can also be used for everyday relaxation and meditation.
How are floating wick candles made?
Making floating wick candles is a relatively simple process. The materials needed include a wick, wax, a container, and a few other tools. The first step is to prepare the container by filling it with water and placing the wick in the center. Then, the wax is melted and poured into the container, surrounding the wick. Once the wax has cooled and hardened, the candle is ready to be used.
In the following sections, we will dive deeper into the process of making floating wick candles, including the materials needed, step-by-step instructions, and tips for creating the perfect candle.

Materials Needed for Making Candles with a Floating Wick
Making candles with a floating wick is a fun and creative way to add ambiance to any room. To get started, you will need the following materials:
1. Wax
The first and most important material you need is wax. You can use different types of wax, such as soy wax, beeswax, or paraffin wax, depending on your preference. Be sure to get enough wax for the size of your container.
2. Floating Wicks
A floating wick is necessary for this type of candle. These wicks are specially designed to stay upright and centered while floating on the surface of the wax. You can purchase floating wicks online or at your local craft store.
3. Container
You will need a container to hold the wax and the floating wick. Glass jars or bowls are popular choices for making candles with a floating wick. Make sure the container is heat-resistant and can hold the amount of wax you need.
4. Coloring Agents (Optional)
If you want to add color to your candle, you can use coloring agents. You can use liquid or dye chips, depending on the type of wax you are using. Be sure to follow the manufacturer’s instructions on how much dye to use for the amount of wax you have.
5. Fragrance Oils (Optional)
If you want to add a scent to your candle, you can use fragrance oils. There are many different scents to choose from, such as lavender, vanilla, or peppermint. Be sure to follow the manufacturer’s instructions on how much fragrance oil to use for the amount of wax you have.
6. Thermometer
A thermometer is necessary to monitor the temperature of the wax. You will need to heat the wax to a specific temperature before pouring it into the container. Be sure to use a thermometer that can measure the temperature of the wax accurately.
7. Double Boiler
A double boiler is necessary to melt the wax. This is a two-pot system where the wax is heated in a pot placed inside another pot filled with water. This method ensures that the wax is melted evenly and does not burn.
8. Stirring Utensil
You will need a stirring utensil to mix the wax, coloring agents, and fragrance oils. A wooden spoon or spatula works well for this purpose.
With these materials, you can make beautiful and unique candles with a floating wick that will add a special touch to any room.

Step-by-Step Guide: How to Make Candles with a Floating Wick
Step 1: Prepare the Container
Choose a container that is suitable for floating wick candles. Glass containers work well for this purpose. Clean the container thoroughly and wipe it dry. Place the float on the wick inside the container and make sure the wick is long enough to reach the bottom of the container and still have enough length to stick out of the top.
Step 2: Melt the Wax
Melt the wax in a double boiler or a wax melting pot. Heat the wax to the recommended temperature, which is usually between 160°F and 180°F. Be sure to follow the manufacturer’s instructions for heating and melting the wax.
Step 3: Add Coloring and Fragrance (Optional)
If you want to add color or fragrance to your candles, now is the time to do so. Add the desired amount of color and fragrance to the melted wax and stir well. Be sure to use candle-safe dyes and fragrances.
Step 4: Attach the Wick
Dip the wick in the melted wax and attach it to the bottom of the container. Hold the wick in place until the wax hardens and the wick is firmly attached to the bottom of the container.
Step 5: Pour the Wax
Pour the melted wax into the prepared container. Be sure to leave some space at the top of the container for the wick to float. Fill the container to about 1/4 inch below the top.
Step 6: Position the Wick
Position the wick in the center of the container. Use a wick holder or a chopstick to keep the wick centered and straight while the wax cools and hardens.
Step 7: Allow the Wax to Cool
Allow the wax to cool and harden completely. This may take several hours, depending on the size of the candle and the temperature of the room.
Step 8: Trim the Wick
Trim the wick to about 1/4 inch above the surface of the wax. This will ensure that the wick burns evenly and does not produce too much smoke.
Congratulations! You have successfully made a floating wick candle. Enjoy the relaxing and soothing ambiance that your new candle provides.

Tips and Tricks for Making Candles with a Floating Wick
Making candles with a floating wick can be a fun and rewarding activity. However, it requires some knowledge and skills to achieve the best results. Here are some tips and tricks to help you make the perfect floating wick candles:
Use high-quality wax for better results
The quality of the wax you use will greatly affect the outcome of your floating wick candles. Choose a wax that is specifically formulated for candle-making, such as soy wax or beeswax. Avoid using low-quality or cheap wax, as it may not burn evenly and can produce unsightly smoke or soot.
Make sure the container is clean and dry
Before pouring the wax, make sure the container you are using is clean and dry. Any dust, debris, or moisture can affect the quality of the candle and cause it to not burn properly. Use a clean cloth or paper towel to wipe the inside of the container and make sure it is completely dry before pouring the wax.
Experiment with different colors and fragrances
One of the great things about making candles with a floating wick is that you can experiment with different colors and fragrances to create unique and personalized candles. Use high-quality candle dyes and fragrance oils to add color and scent to your candles. Be creative and try different combinations to find the perfect one for you.
Use a thermometer to ensure the wax is at the right temperature
Temperature is a critical factor when making candles with a floating wick. Use a thermometer to monitor the temperature of the wax and ensure it is at the right temperature before pouring it into the container. The ideal temperature range for most waxes is between 170°F and 180°F.
Trim the wick to ¼ inch after each use
After using your floating wick candle, make sure to trim the wick to ¼ inch to prevent it from producing too much smoke or soot. Use a sharp pair of scissors or wick trimmers to trim the wick, and make sure to remove any debris or ash that may have accumulated on the wick.
By following these tips and tricks, you can create beautiful and long-lasting floating wick candles that will add warmth and ambiance to any room. Happy candle-making!

Conclusion
Learning how to make candles with a floating wick can be a fun and rewarding experience. It is a great way to create unique and personalized candles that can be used for decoration, relaxation, or as gifts for friends and family.
There are many different techniques and materials that can be used to create floating wick candles, but the basic steps involve melting the wax, adding fragrance and color, attaching the wick, and pouring the wax into the mold.
It is important to remember that safety should always be a top priority when making candles. Always use caution when handling hot wax and flames, and always follow the manufacturer’s instructions for any equipment or materials used.
With some practice and experimentation, you can create beautiful and unique floating wick candles that will add ambiance and style to any room. Whether you are making candles for personal use or to sell, the possibilities are endless.
So, why not give it a try and see what kind of creative and beautiful candles you can make with a floating wick?